Mindful Christmas Decor: DIY Gingerbread Houses
It’s getting closer to Christmas, and my daughter has already started asking when we’ll decorate the house for the holidays. I honestly don’t know where she learned to love these things so much (says the mom who made every month-birthday with full-on themed decorations… and has a grandma who LOVES creating décor and Christmas too).
Last week she was under the weather, so she stayed home — and “obligated” me (very kindly!) to set up the Christmas tree with her. And that was it. Once we finished the tree, the Christmas spirit completely took over me. I finally put into action the mindful, thoughtful fireplace decoration I had been imagining.
I reused things we already had at home — the little reindeer, the mini pink Christmas tree, and the paper snowflakes. I only added a garland with lights (which made SUCH a big difference).
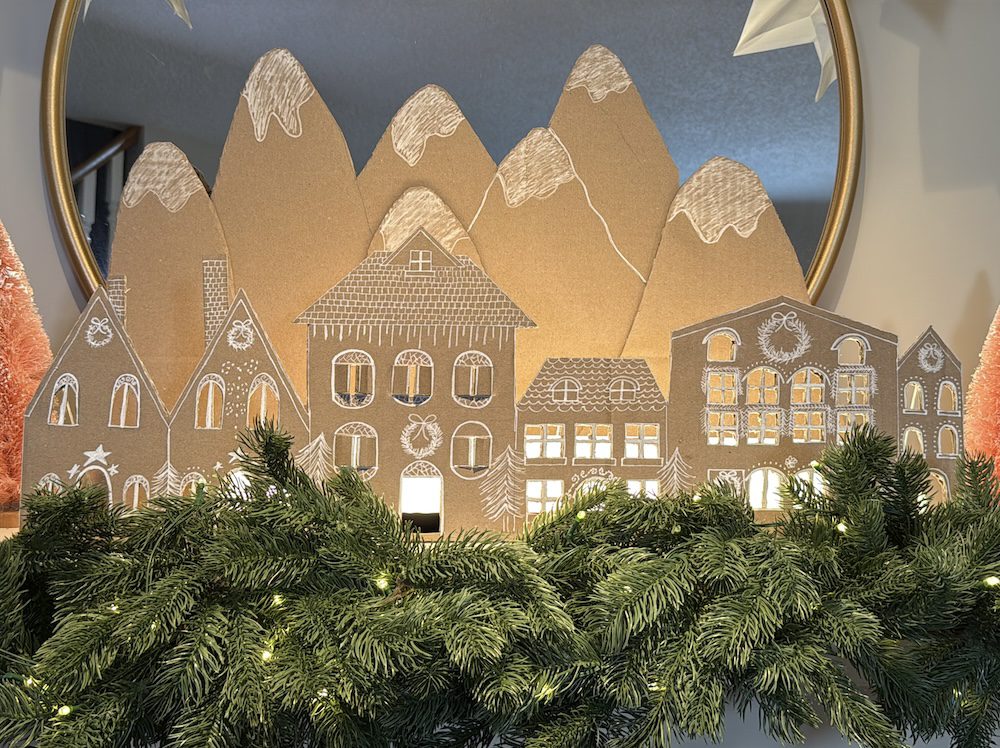
But the biggest star of the whole decor was definitely the gingerbread houses with mountains, all crafted out of cardboard. Creating them felt like travelling back to my architecture university days — the measurements, proportions, sketches, patterns, and OMG… so many cuts. Thankfully, my beloved husband helped me with all the cutting!
But the result? Worth every delicious, mindful minute spent on this project.
And if the Christmas spirit has taken you too, I prepared a complete template with all the gingerbread houses and mountain measurements so you can recreate everything at home.
It’s a beautiful exercise in presence, patience, focus, and creativity — and I think you’re going to love it. ✨
Table of Contents
What Is Mindful Christmas Decor?
Mindful Christmas decoration isn’t about buying more or making everything “Pinterest-perfect.”
It’s about:
- using what you already have
- creating with intention
- choosing pieces that spark joy, not stress
- crafting decor that brings presence, creativity, and connection
- slowing down to savour the process
It transforms decorating from a checklist into a ritual — a moment to feel, pause, and be present.
It also opens space to carry this intention beyond one corner of the home.
If you’d like to extend this mindful approach, you can explore how I styled the rest of my home in my Christmas home decor with a curated Nutcracker collection, where each piece was chosen with meaning.
And if you’re dreaming about gathering around the table with the same sense of presence, I share a step-by-step guide to creating a cozy Christmas table decor, designed to feel warm and intimate.
Bring this mindset to the entire house.
How I Created This Mindful Fireplace Decor
I always try to decorate in a way that feels meaningful, warm, and intentional — especially during the holidays. Instead of buying everything new, I focused on reusing items I already loved and only adding pieces that truly elevated the space.
1. Layering What I Already Had
I brought out:
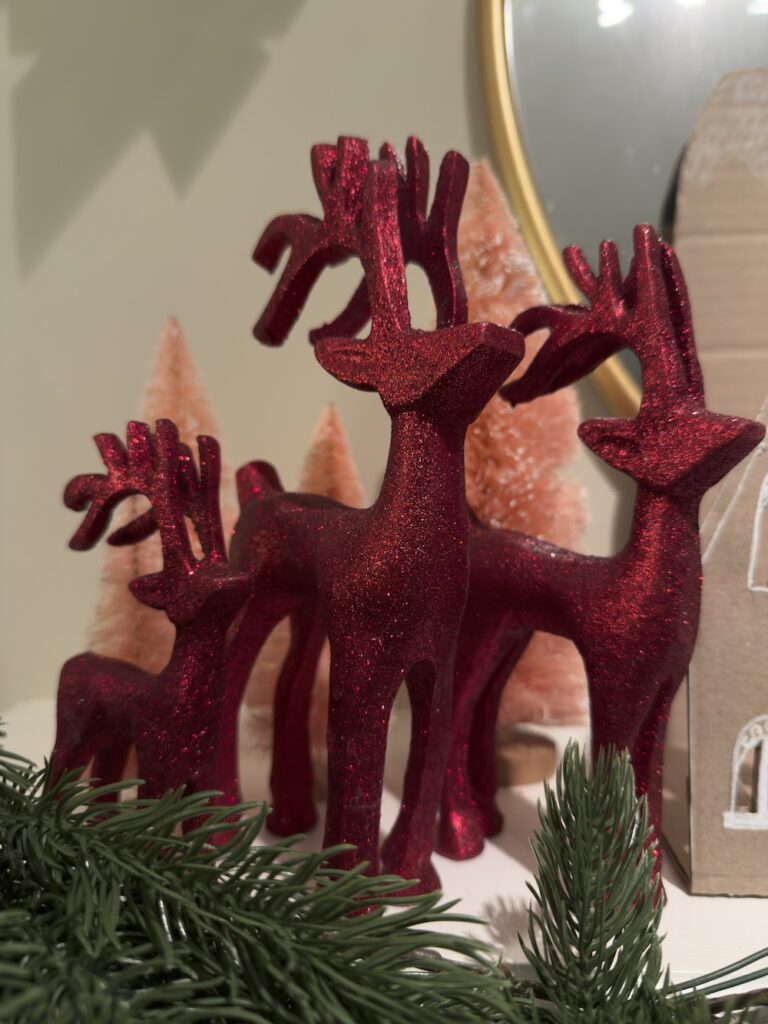
- My 3 standing reindeer
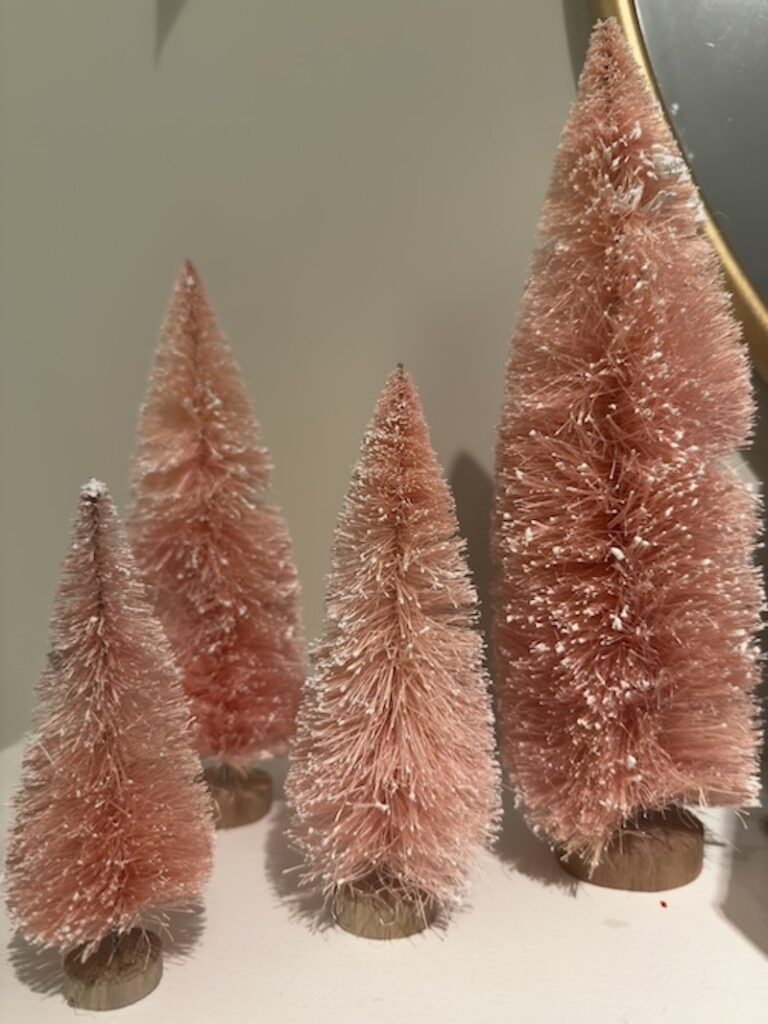
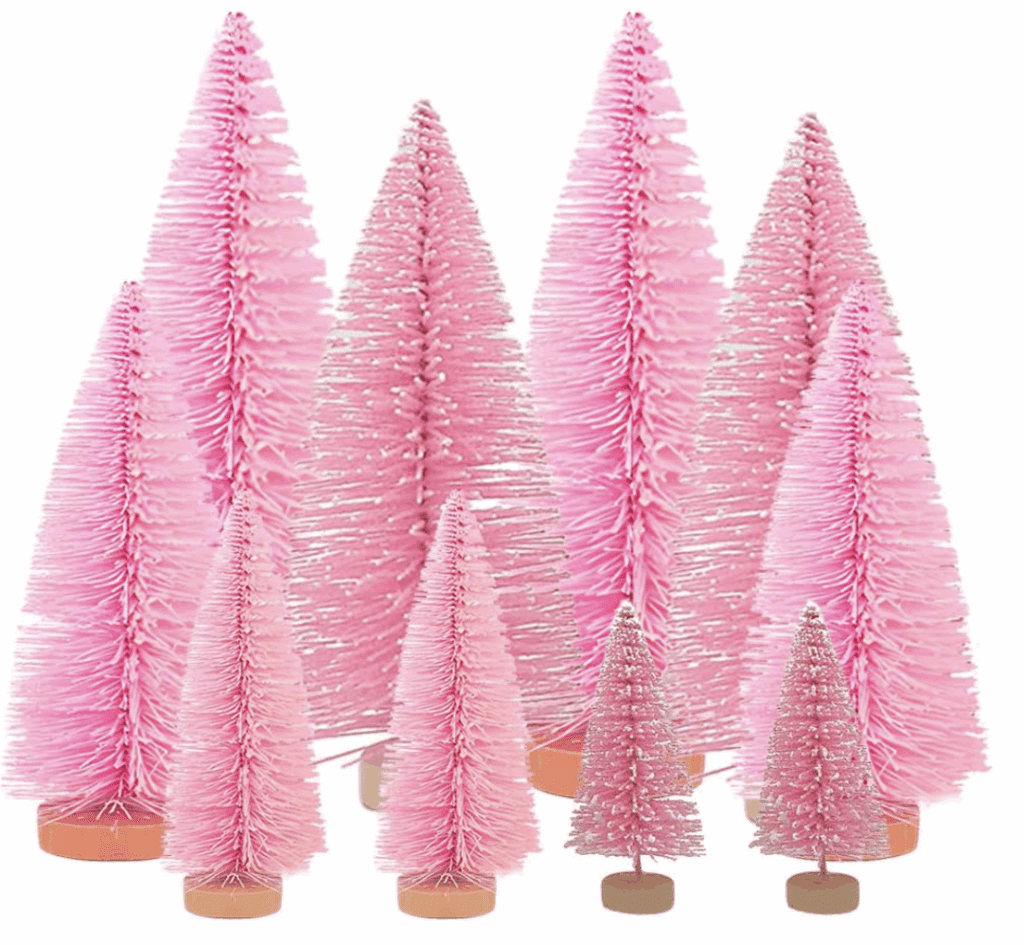
- The mini pink Christmas trees
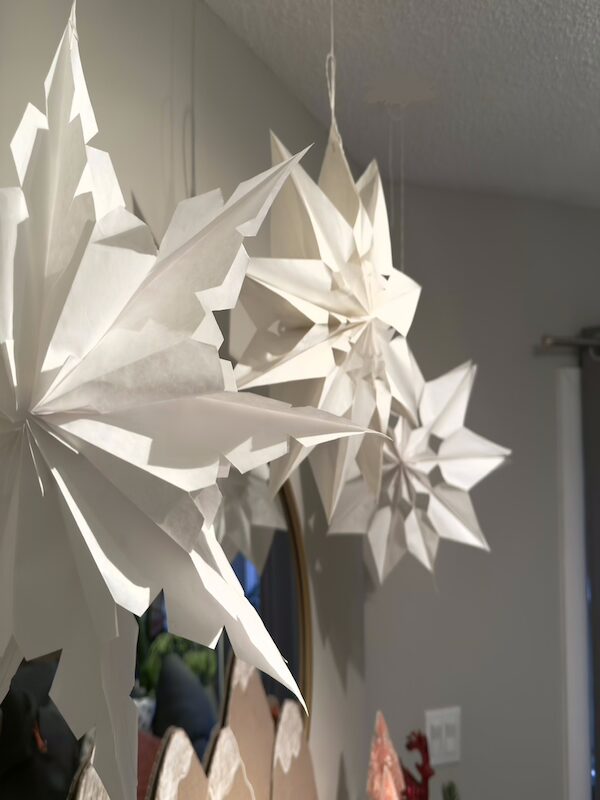
- The paper snowflakes from previous years
These small pieces already hold so many memories.
2. The Garland that Changed Everything
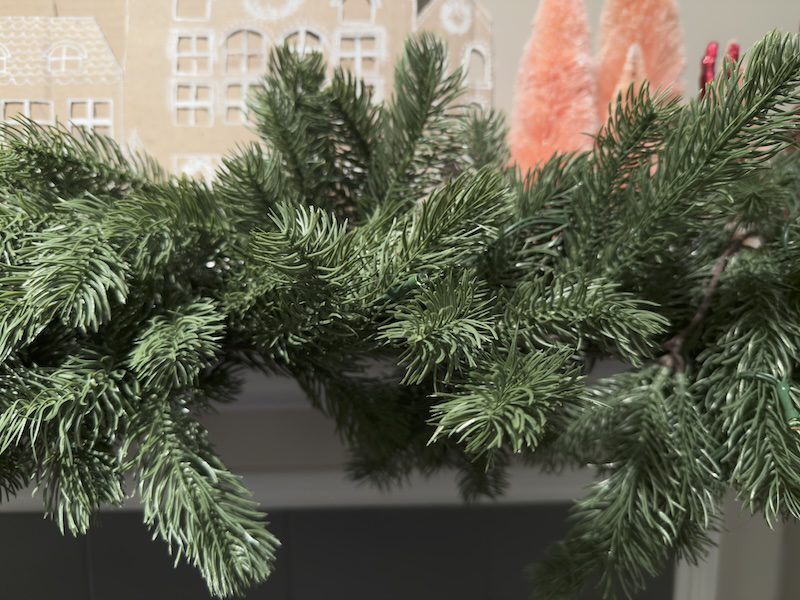
I added a simple garland with warm lights, and it softened and brightened the whole fireplace. Sometimes one new element can bring everything together.
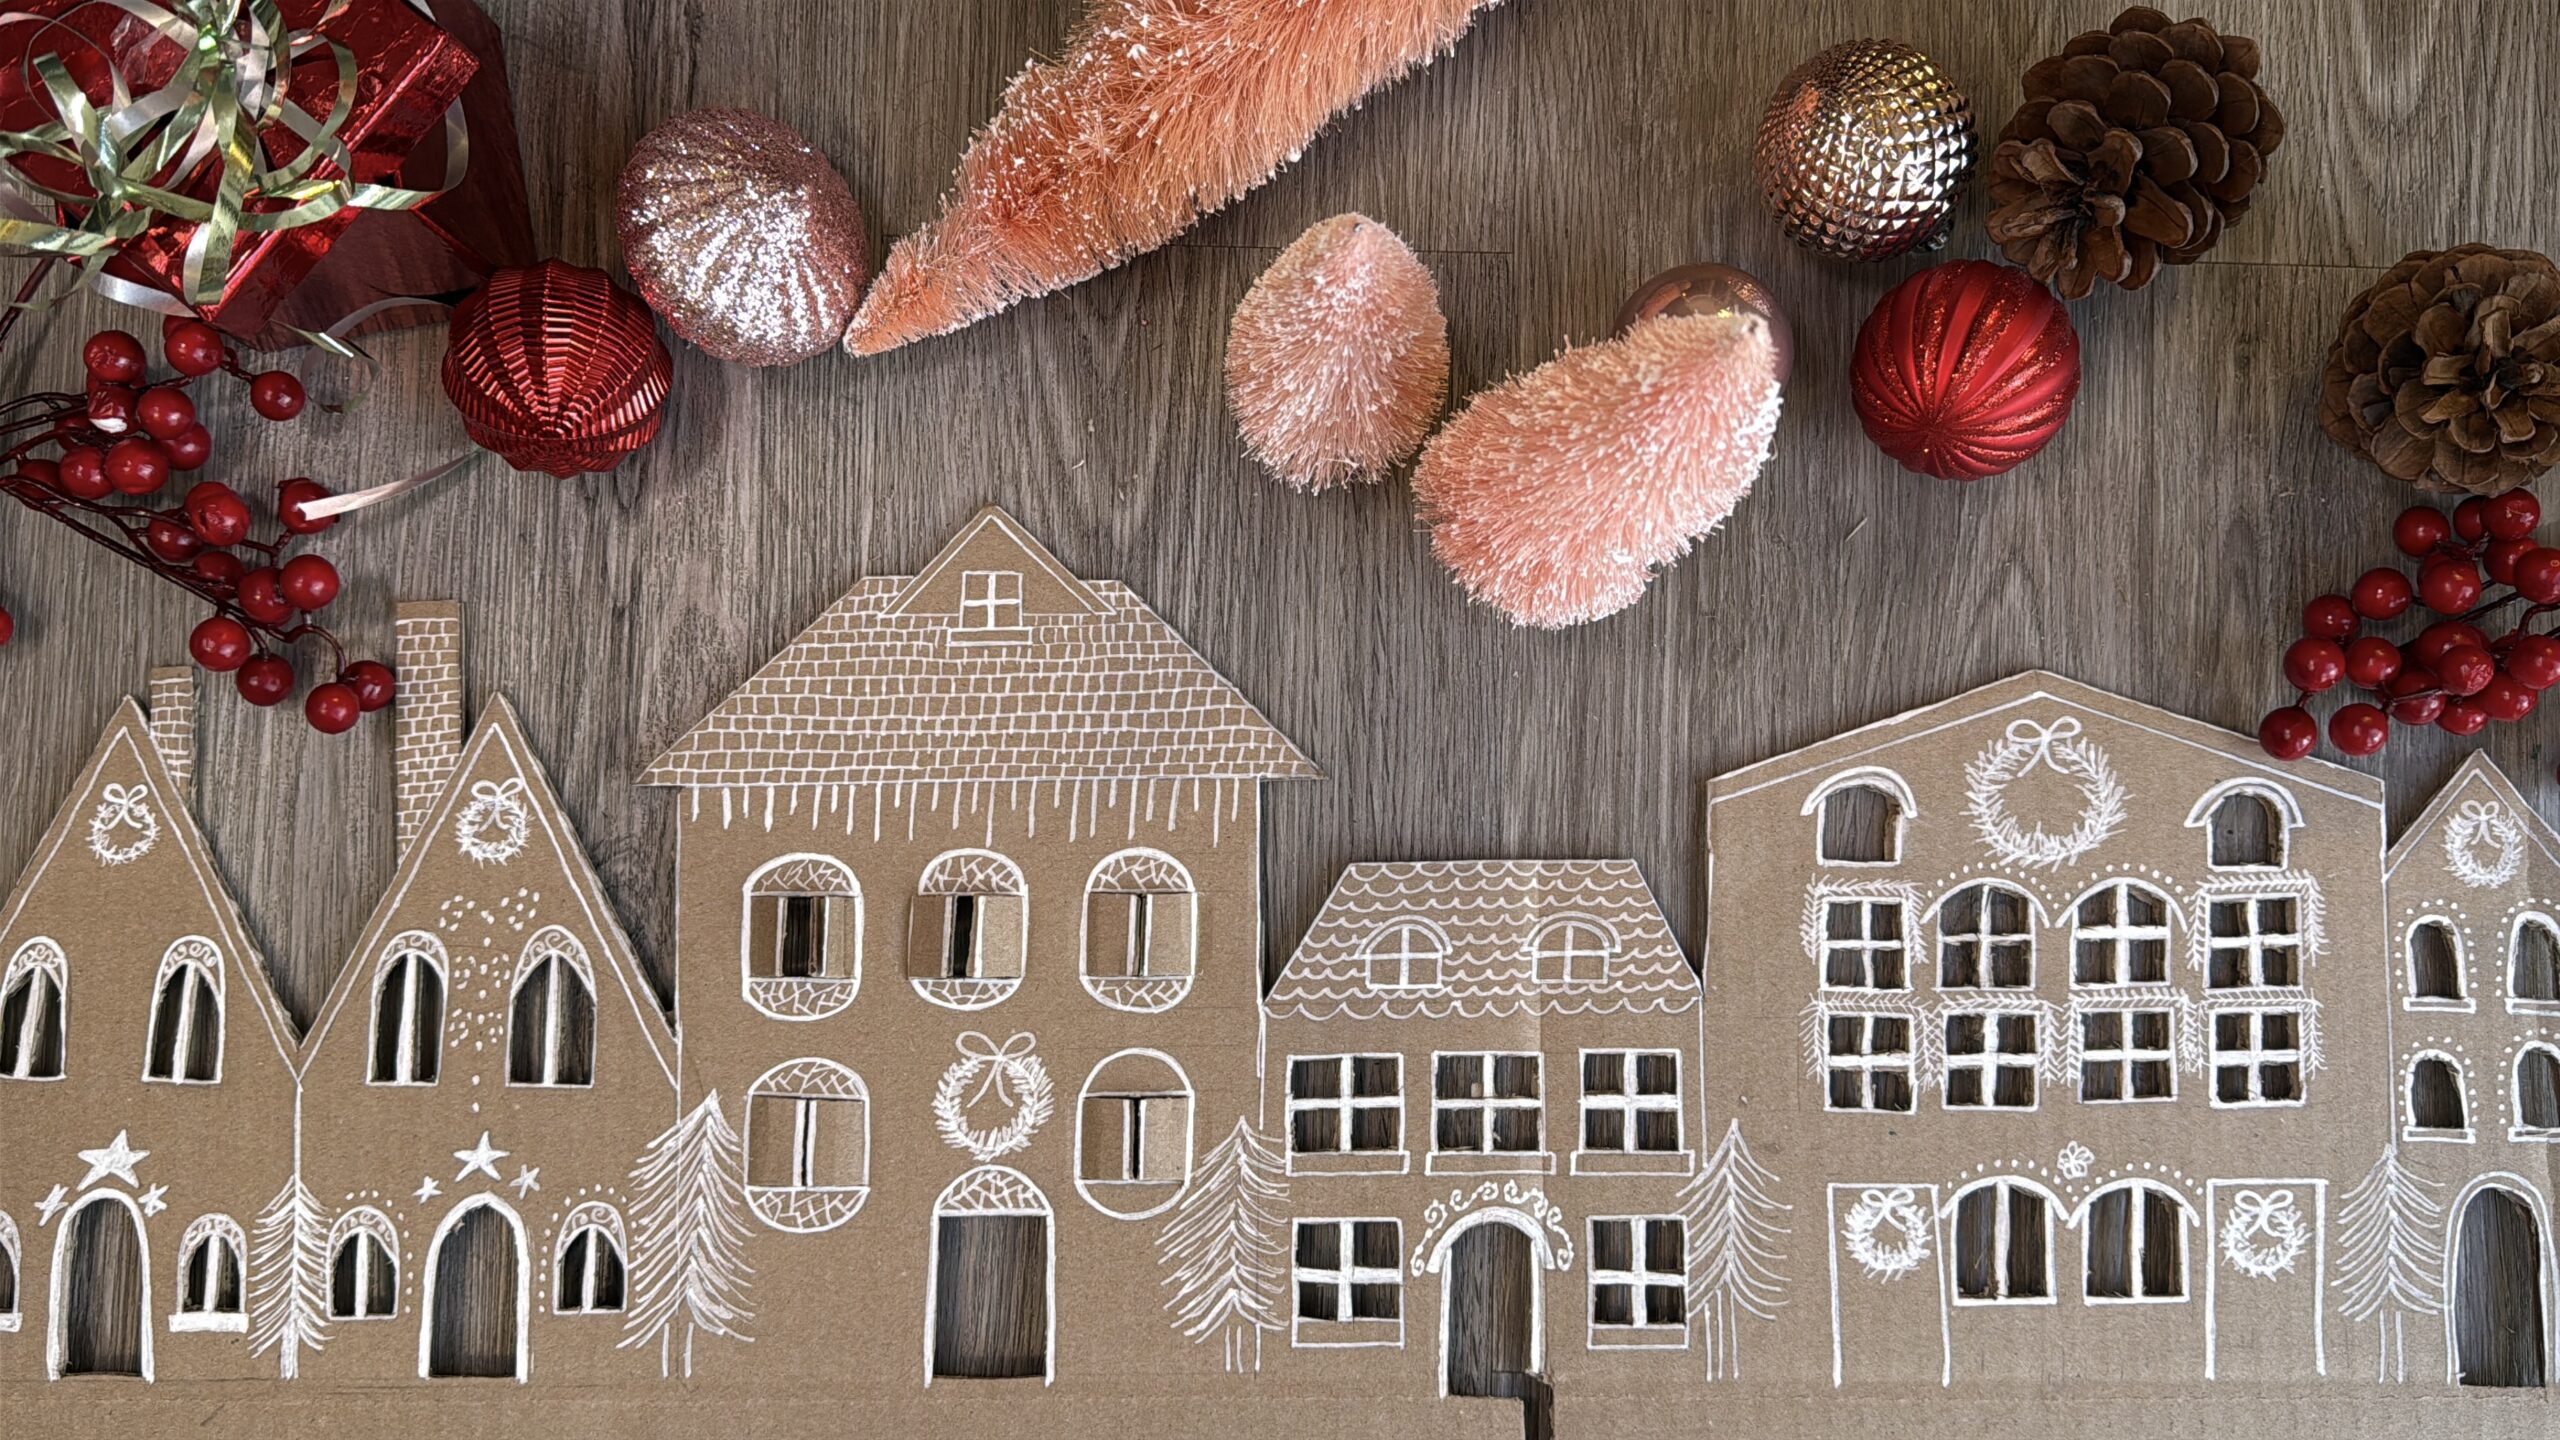
3. The DIY Cardboard Gingerbread Houses + Mountain Scene
This was the soul of the decor: a handmade cardboard gingerbread village,
The step-by-step was:
Step 1 — Sketching the Idea on Paper
I started by sketching the village and mountain layout on A4 paper — defining proportions, shapes, and the composition between elements.
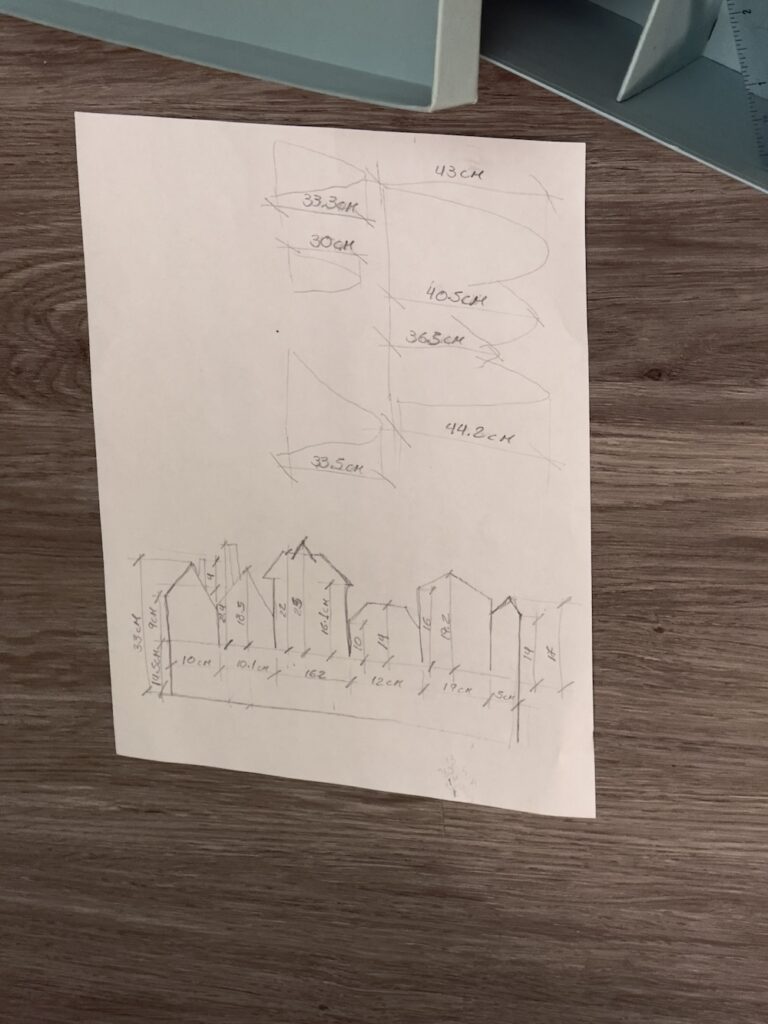
Step 2 — Drawing the Mountains on Cardboard
I made the mountain scene in two parts:
- Three standalone mountains are drawn separately.
- The large background mountain range.
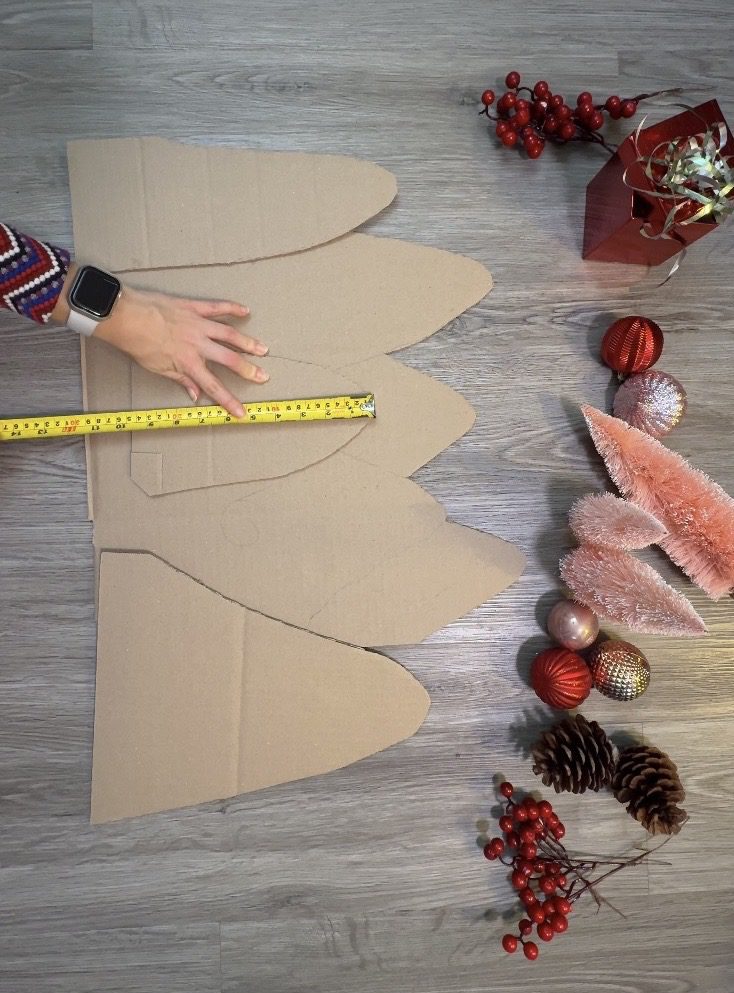
Step 3 — Cutting & Assembling the Mountain Pieces
I cut everything with scissors, drew the snowy peaks on each mountain, and then glued the three individual mountains onto the main mountain range to create depth.


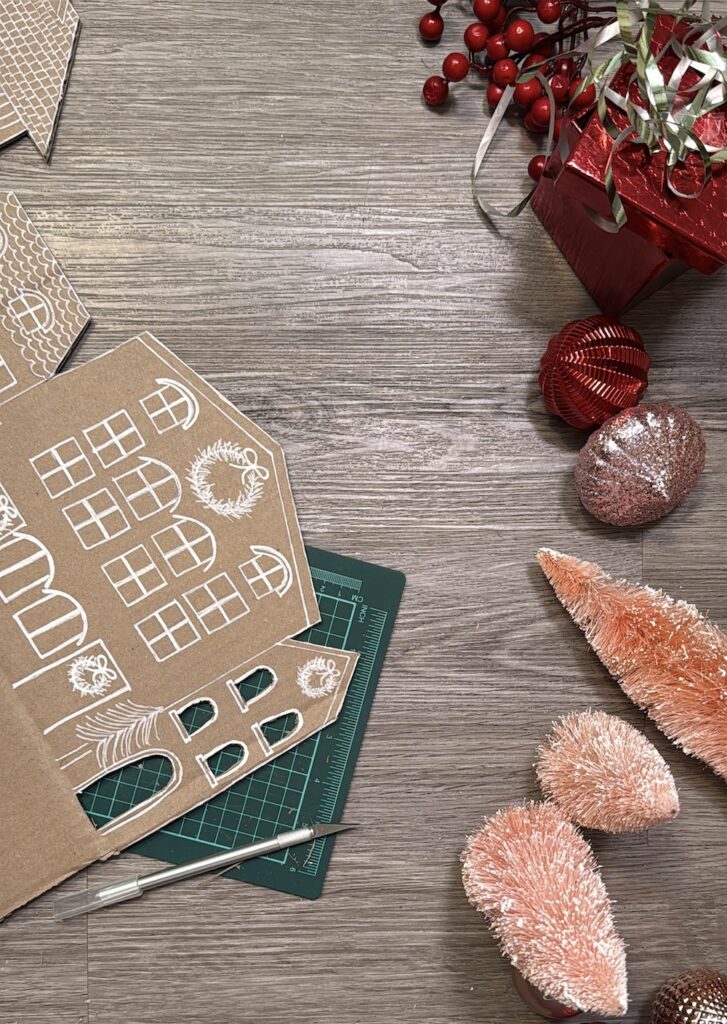
Step 4 — Drawing & Cutting the Gingerbread Houses
Using a pencil, I drew a row of houses — each with different heights, doors, and windows. Then I cut the cardboard into the house silhouettes.
Tip: Leave approximately 15 cm / 5.9 in of cardboard at the bottom of each house for assembling later.
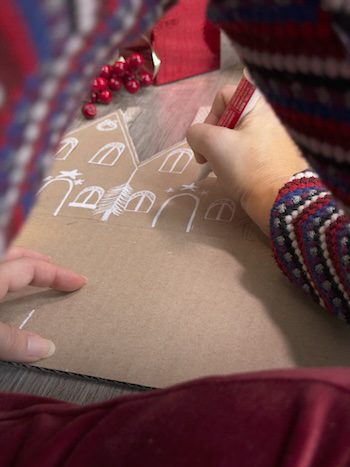
Step 5 — Adding Details With a Chalk Marker
My favourite part! I drew all the little details: doors, rooftops, windows, wreaths, garlands, lights, tiny trees — whatever creativity inspired in the moment.
Step 6 — Cutting Out the Windows & Doors
This was the longest step. I carefully cut every little window square and each door opening to bring the houses to life.
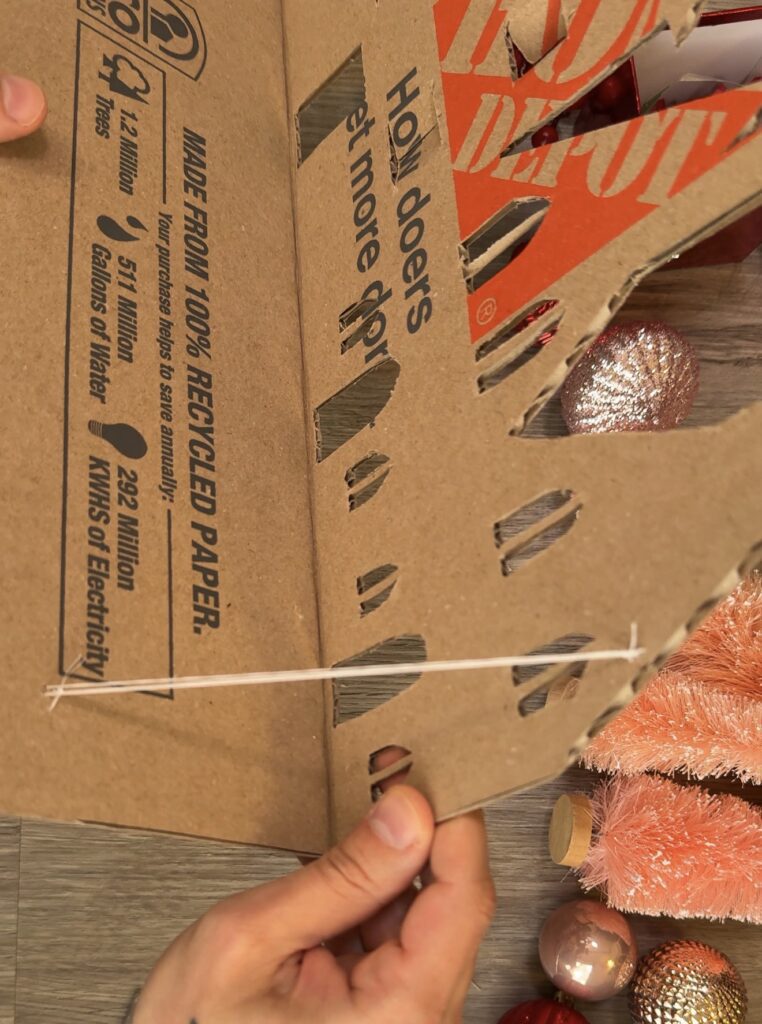
Step 7 — Assembling the Gingerbread Village
I folded the extra cardboard at the bottom of each house to create a support base.
Then, using thread and needle, I created a delicate cable-stayed effect to secure and stabilize the village — a tiny architectural detail that made my heart happy.
“It felt like a mindful, creative meditation. Each cut and line brought me back to my architecture school days — in the best way.”
Download the Gingerbread Village Template
Want to recreate the gingerbread houses and mountains at home?
I created a printable PDF with all the gingerbread houses + Mountains measures
This free file includes:
- house measurements
- mountain patterns
- proportions and spacing
- printable guide
Use it to create your own cardboard Christmas village.
A perfect mindful Christmas DIY project. It’s a grounding, creative activity you’ll absolutely love — maybe even a new tradition
Materials I Used
Here are the exact materials I used to craft this cozy, intentional, handcrafted gingerbread village setup:
- Cardboard sheets
- Chalk Markers – Perfect for drawing details on the cardboard houses.
- Set square – Helps you sketch clean lines with precision.
- Steel ruler – A must-have for smooth cutting lines.
- Craft Knife + Cutting Mat – For clean, precise cuts.
*This is an affiliate link. I may earn a small commission at no cost to you.
Decor Items I Used – Shop the Look
Here are the items I used or recommend for recreating a cozy, mindful Christmas setup:

“Creativity + Patience. But this you don’t buy, you own it.”
Extra items I recommend:
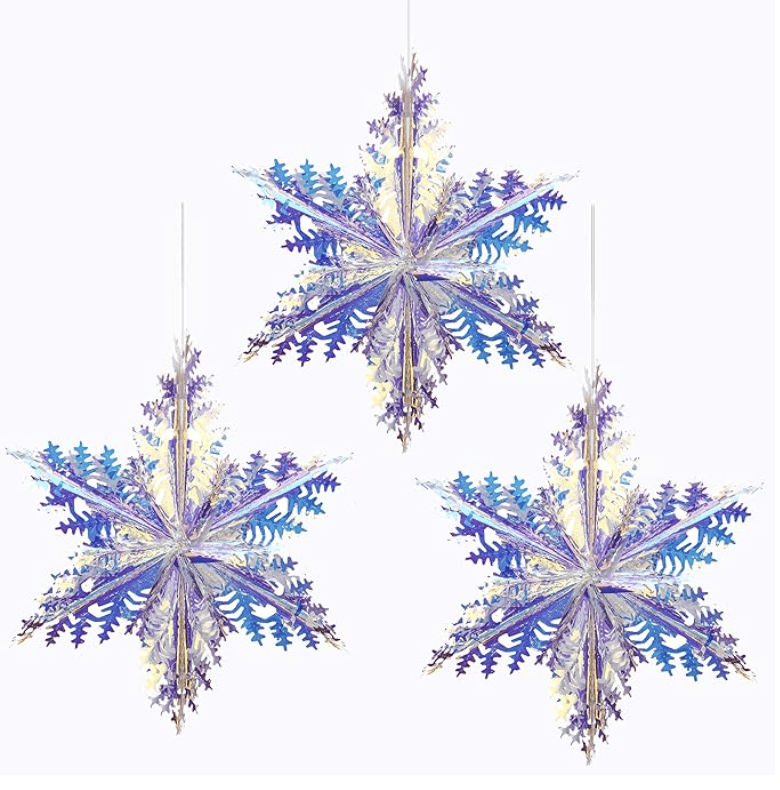
Iridescent Snowflake ornament hanging decoration
Light-catching and magical, these snowflakes add sparkle and elegance to your holiday setup.
Adorable and versatile, these tiny trees bring colour, texture, and a playful Christmas vibe to tabletops, mantels, or DIY projects.
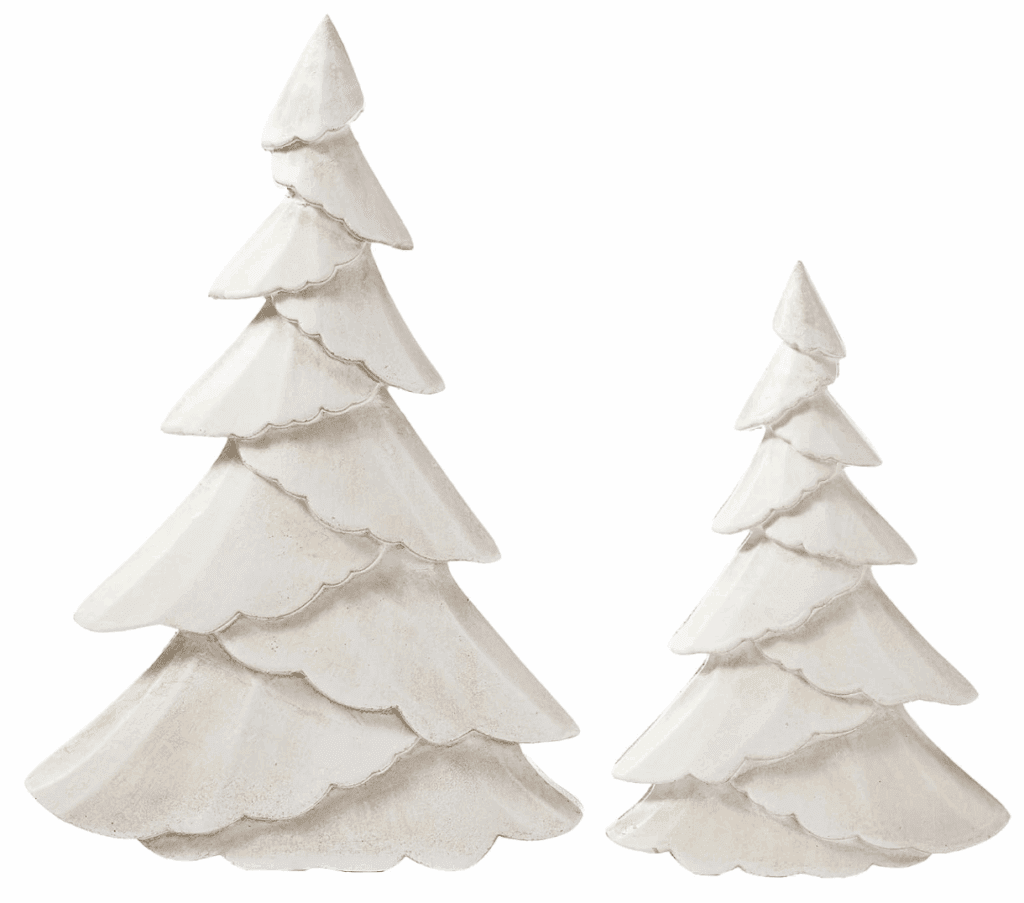
Chic Tabletop Xmas Statues, Set of 2
Minimal and modern, these standing pieces add a sophisticated touch to your decor.
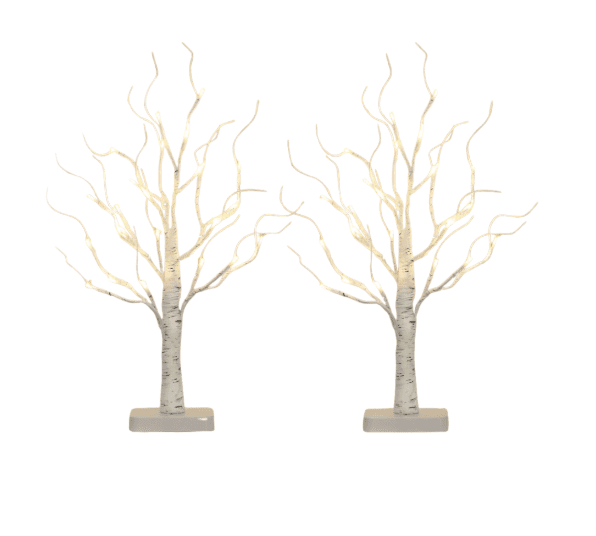
Soft, warm, and enchanting. These lighted birch trees instantly create a cozy glow and add height + magic to any Christmas or winter decoration.

Plastic White Snowflake Ornaments
These classic white snowflakes add a soft, snowy touch to any Christmas decor. Perfect for hanging, layering, or creating a whimsical floating effect above your holiday setup.
*This is an affiliate link. I may earn a small commission at no cost to you.
Assembling the Fireplace Christmas Decor
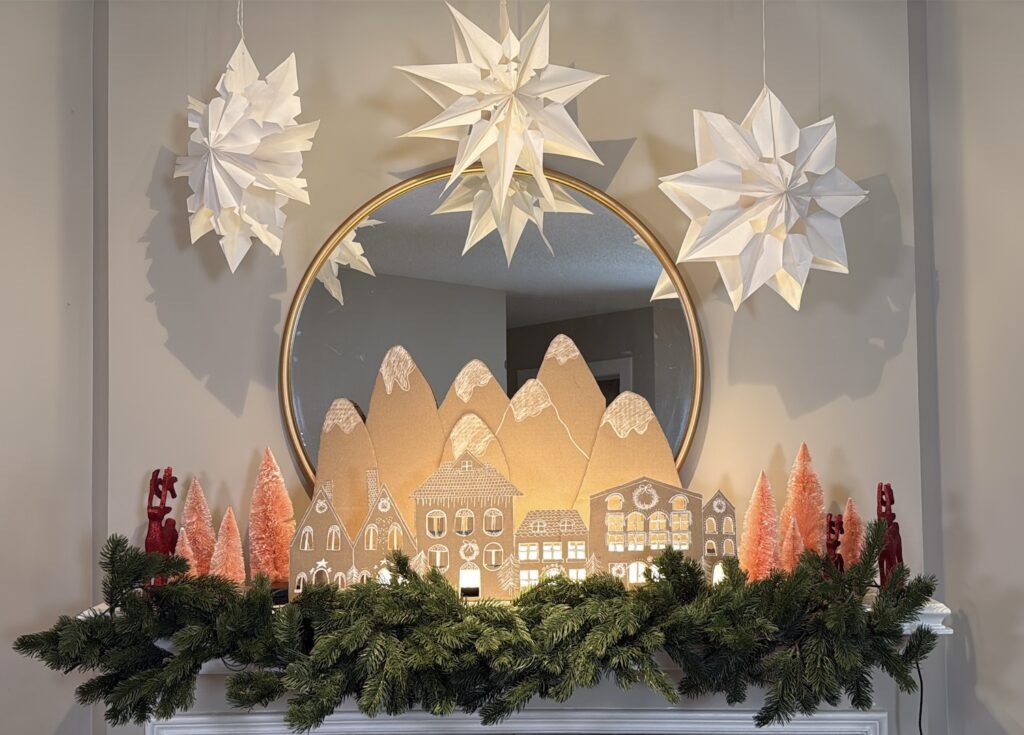
After finishing all the crafting and gathering the objects, it was finally time to bring the whole scene to life. I assembled the decoration step by step, letting each piece find its place:
- I began with the gingerbread houses, since they’re the heart of the whole display and define the center of the fireplace decor.
- Then I placed the mountains behind them, creating depth and giving the village its cozy backdrop.
- Next, I added lights behind the houses. I used a light I normally use for my video setup, but you can absolutely use Christmas lights — medium or large bulbs work best to create that glowing, magical effect behind the cardboard.
- On each side, I arranged the pink Christmas trees in different heights and added the standing reindeer to frame the village and balance the scene.
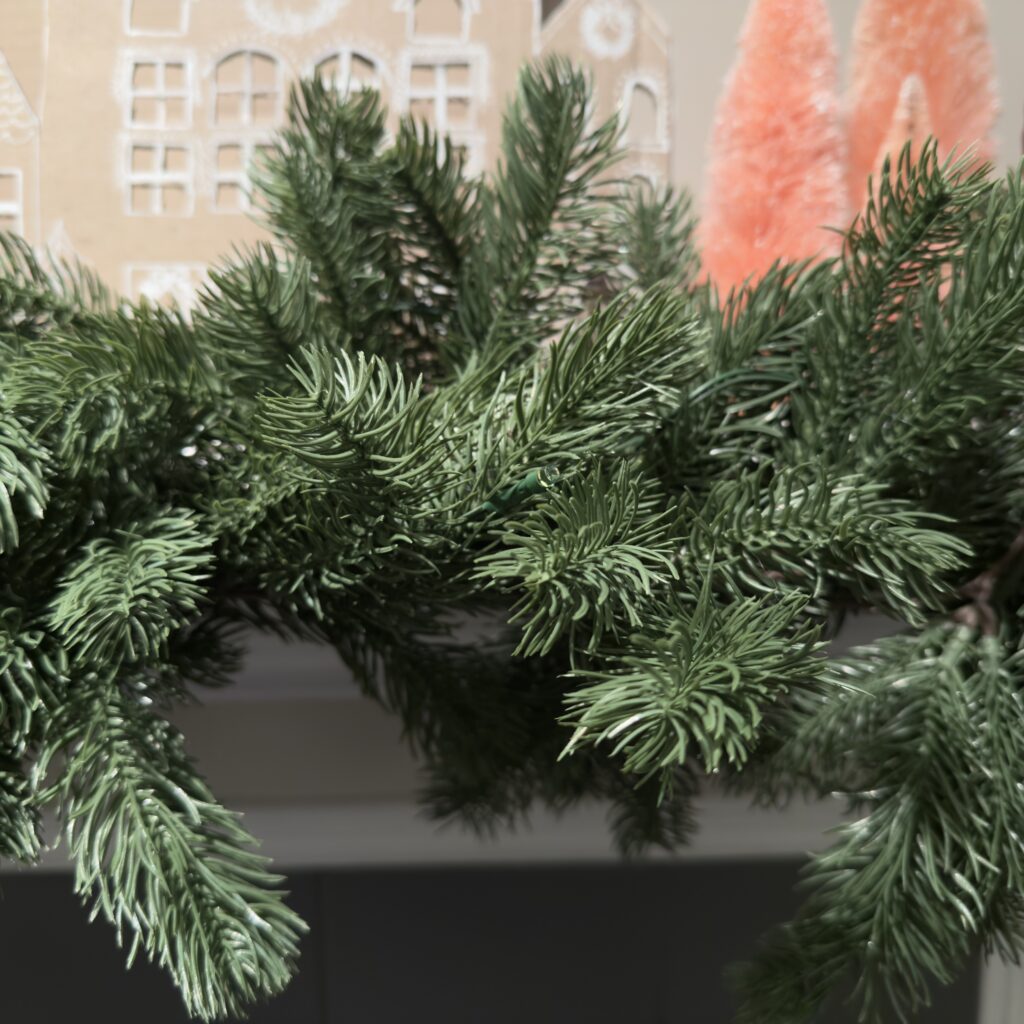
- I fixed the garland next, folding it in the middle to make it fuller and leafier before placing it across the mantle.
- Finally, I hung the paper snowflakes, aligning them with the gingerbread village so everything felt connected and intentional
Creating Moments, Not Just Decor
This year’s Christmas decor wasn’t about perfection — it was about intention.
It was about slowing down, creating with my hands, sharing a meaningful project with my family, and filling our home with warmth.
I hope this inspires you to decorate in a way that feels mindful, cozy, and uniquely yours.
If you recreate the cardboard gingerbread village, tag me on Instagram @carolmota — I’d love to see your magic.
Feel free to share your thoughts or questions in the comments.
Wishing you a peaceful, magical holiday season. ✨
💌 Join the Mindful Letter
If you’d like to receive my “mindful letter” with monthly cozy favourites, behind-the-scenes, and drops of inspiration and beauty.
You can also find me on:
FAQ
How long does it take to make the cardboard gingerbread houses?
Depending on your pace, expect 1–3 hours. It’s slow but deeply relaxing.
Do I need special tools?
Not at all — just basic craft tools like a ruler, craft knife, cutting mat, and a marker.
Can kids help?
Kids can decorate the houses, but the cutting should be done by an adult.
Can I print the template at home?
Yes — the file is sized for home printers.
Proudly powered by WordPress

Leave a Reply